Hello,
Here is a quick blog post to share 10 tips and tricks I use daily to make tasks faster and more efficient. I believe a lot of designers are most likely aware of most but perhaps somebody will find something new in here. Prepare you claws for some action!
Anton Repponen
On behalf of the Fi Design Team
1. Removing “Copy” after duplicating layers.
Most of the time when I create an item in photoshop (video thumbnail for example) I need to duplicate it a couple of times. I just hold the ALT key and drag the selected layer or folder to duplicate it. By default Photoshop will add a “copy” to the name of the layer or folder and then I used to spend quite some time going into each layer title and deleting the “copy” to keep my layer titles clean.
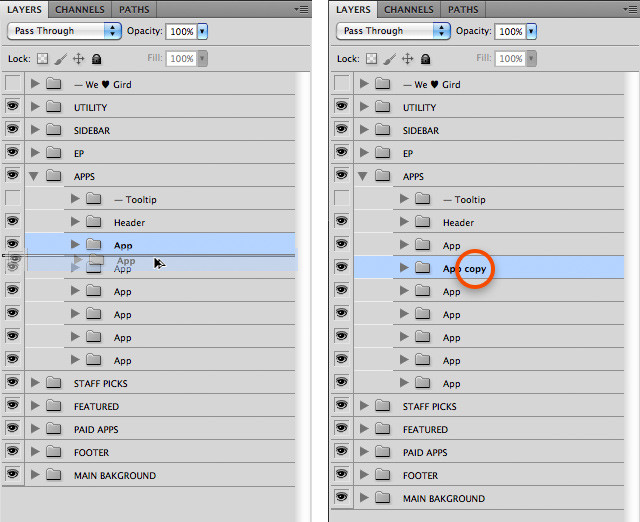
In CS5 you can finally disable this “feature”. Just click on the icon in the top right of your layer panel and select “Panel Options”. In the popup just remove the check box near “Add “copy” to Copied Layers…” (Thanks JB for that one!)
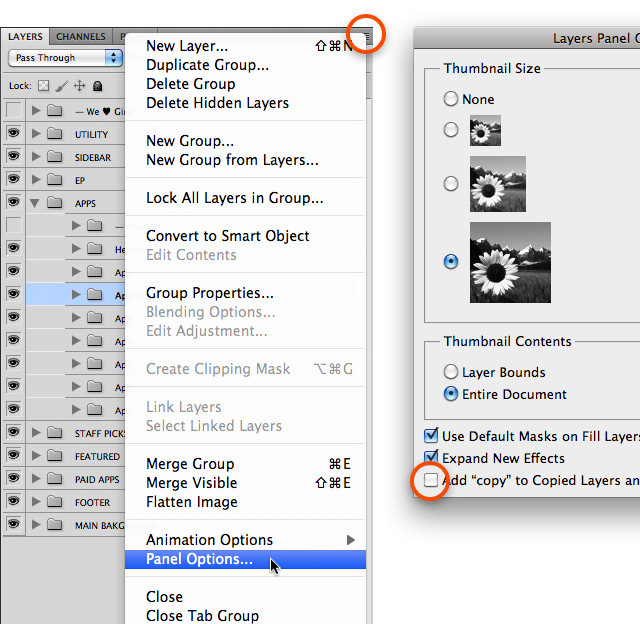
But the most awesome thing happens if you click “Panel Options” while holding the ALT Key.
2. Quick Screenshot.
A lot of people know how to take a quick screenshot on a Mac. The most common shortcut is COMMAND + SHIFT + 3, it will take a screenshot of the entire screen, some people use COMMAND + SHIFT + 4 just to take a screenshot of selected area.
I like to take a screenshot of the window that I need. Press COMMAND + SHIFT + 4 and after that hit the SPACE bar just once. You’ll get an icon of the camera as on the image below. Select a window you need with this icon and click to take a screenshot.
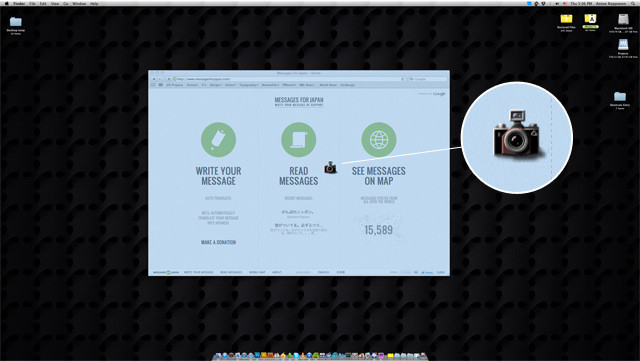
The benefit here is that it takes the screenshot of the window and keeps the background transparent including all the window shadows.
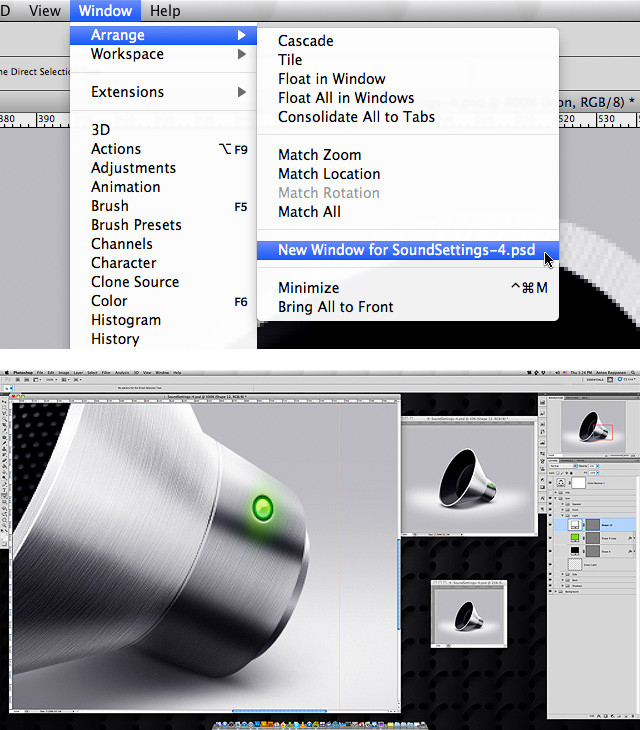
3. Multiwindows.
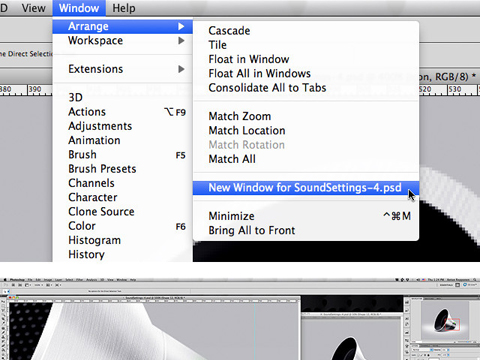
When making an icon I create multiple windows for one PSD file and keep them on the side with different zoom levels, while working on the details in the zoomed in window. That way I don’t have to zoom in, add details and zoom out to see the whole icon again. Windows on the side update everything the moment you add something in the working window.
Just go to WINDOW menu, ARRANGE and select NEW WINDOW for …psd.
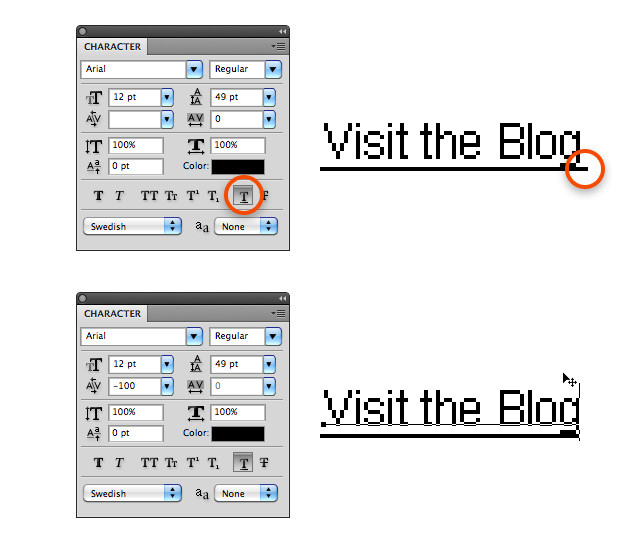
4. Adjusting kerning.
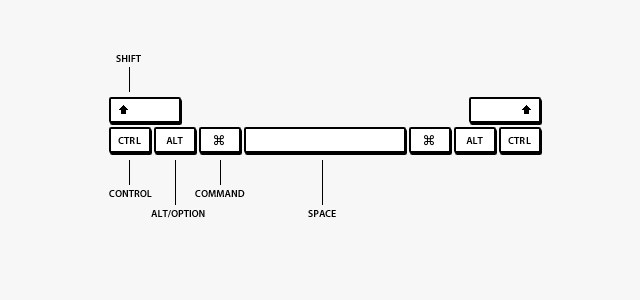
Many designers know the shortcut to adjust the kerning real quick. Just select an area in between the letters and holding ALT key use LEFT and RIGHT arrows to adjust the kerning.
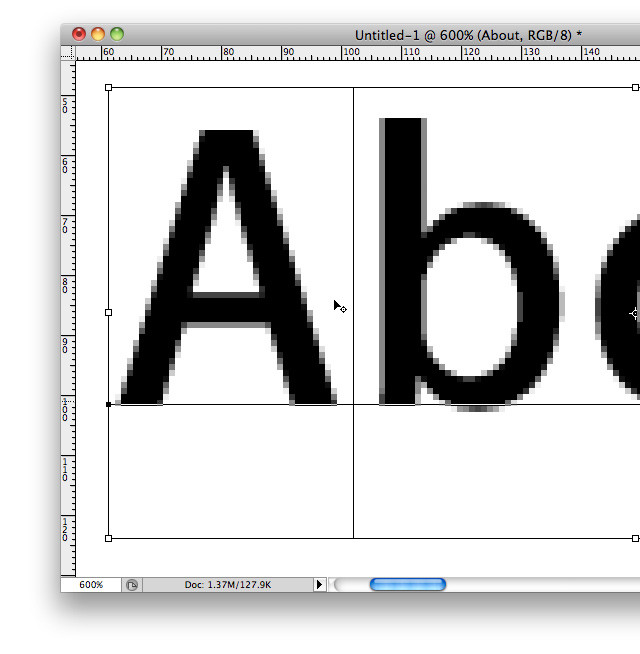
But here’s where I find this shortcut really handy. If you use the default Photoshop underline tool, quite often your underline will be 1 or 2 pixels longer than the text. So using the same shortcut as mentioned above and keeping the mouse cursor at the end of the word, you can easily adjust the underline to match the length of the text.
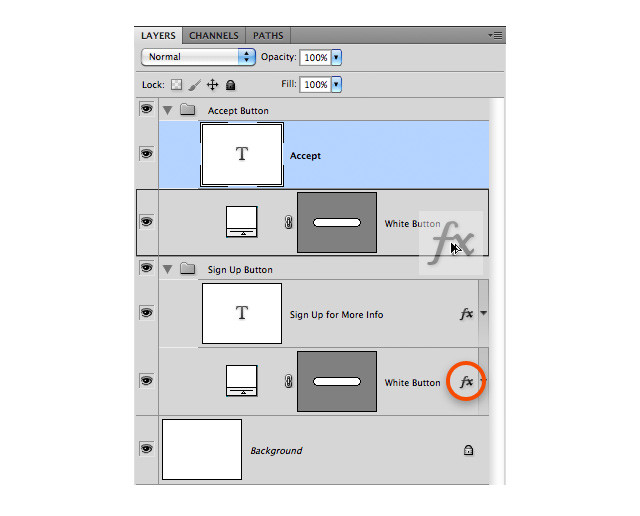
5. Copying layer effects.
A quick way to copy a Layer effect without right click and selecting “Copy Layer Style” is actually just to drag the “Fx” icon in the layer panel from one layer to another holding the ALT key.
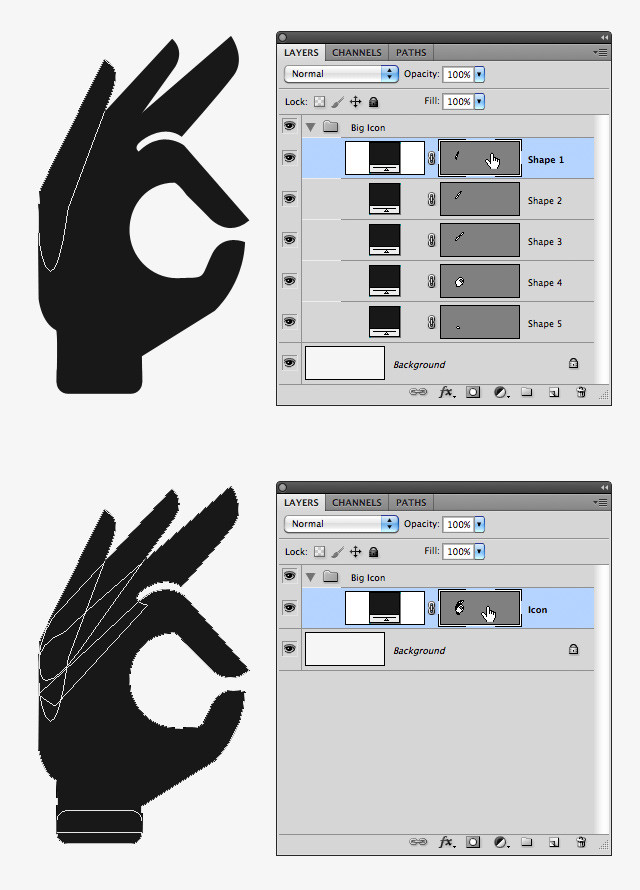
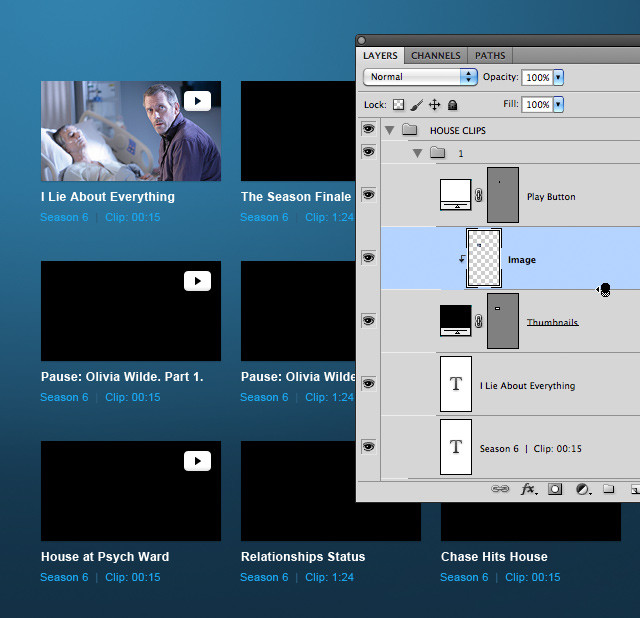
6. Keep all shapes in one layer.
When making an icon using the shapes tool you can end up with multiple individual shape layers. It’s really useful to keep them in one layer in order to change the color, scale or adjust the layer style. Just select the actual shape thumbnail (the place where you can see a mouse cursor on the image below) and press COMMAND + C to copy it, then select another shape layer area and COMMAND + V to paste the copied shape into it.
Also while drawing an icon you can hold the SHIFT key when creating a new shape object and it will keep adding all the shapes into one layer.
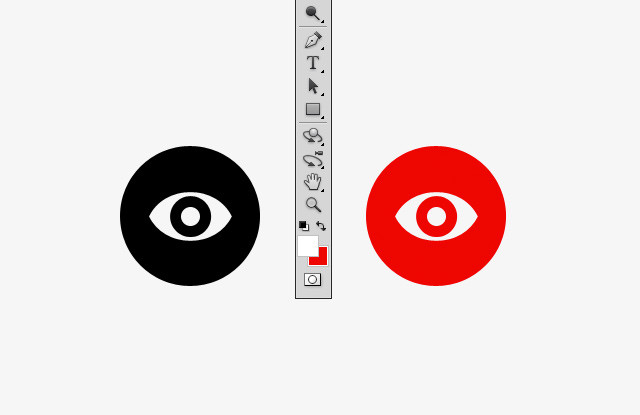
7. Quick color.
If you happen to have a rasterized object (non vector) and you want to fill it with color, the quick way to do it would be pressing SHIFT + COMMAND + DELETE and it will fill it with color that you have selected as your Background color.
8. Quick mask.
A quick way to mask a layer inside the layer below is to click right in between the layers while holding the ALT key (you should see the special cursor as on the image below)
9. Curves with dotted line.
There are many ways to create a curve with a dotted line in Photoshop. Many designers manipulate the brush to have more flexibility, some people would use Illustrator and import the object into Photoshop. The “quick and dirty” way to create it is just by using the Type tool. Create a shape you want your line to follow and then having the Type tool selected click on the curve. In the example below I just typed many dots with Arial that would follow the curve. You can always adjust kerning to have more space in between the dots.

10. All Caps.
A quick shortcut to turn your text to ALL CAPS in Photoshop without going to the Type/Character panel — SHIFT + COMMAND + K
Share some tricks and shortcuts that you know in the comments below. Our design team will really appreciate it!
Fi is growing globally to accommodate it’s client demand in both the creative and HTML5 development areas. The agency operates under a unique business model, delivering “quality over quantity” digital experiences for leading brands only. Job positions for London, San Francisco, New York, and Stockholm are now listed on our careers page. If you don’t see one that fits you exactly, compose your own role and job description and send it to us.